This blog will primarily deal with my passions: scale modeling, dioramas, camouflage and consealing coloration. I hope you will enjoy The Artisan Modeler! All content copyright Bernd Willmer.
Pages
Wednesday, August 4, 2021
Tuesday, August 3, 2021
Focke-Wulf Fw 190 D-9 | 1/12 th Scale | Part 26 – Side consoles
Saturday, June 5, 2021
Focke-Wulf Fw 190 D-9 | 1/12 th Scale | Part 25 – Armor plates
 |
| Dry fitting of parts is actually quite okay.... |
 |
| I made a jig for mounting the seat rails from MDF and a styrene strip that slides into the C-profile: |
 |
| I cut paper templates of the armor plates to get the diminsions right ... |
 |
| I then cut the plates from 0.5 mm alu sheet, the alu is quite soft which makes it tricky to cut and drill. Parts need to be polished and cleaned. |
Saturday, April 17, 2021
Focke-Wulf Fw 190 D-9 | 1/12 th Scale | Part 24 – Shoulder protection
Thursday, February 25, 2021
Physico-chemical-weathering
 |
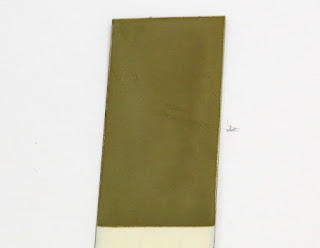
| Chemical stage 1: Base coat, e.g. dark green from Tamiya. Use colors with acrylic resins like Tamiya and Zero Paint. Make tests of the described procedure prior to paint your model! |
 |
| Physical stage 1+n: Carefully treat the surface with tools like wooden chisels. Be careful not to score comletely through the paint work when using metal tools! |
Monday, February 22, 2021
Junkers D.1 | Wingnut Wings 1/32nd scale | Part 8
Saturday, February 13, 2021
Subscribe to:
Comments (Atom)


