Pages

Sunday, June 5, 2016

Bismarck | Main battery – The Krupp Borthers | Part A

Please welcome the Krupp Brothers!

A few months ago I started to research Bismarck´s main battery. I am using ureol plates and blocks for the basic construction. It allows for precise sanding and filing and sharp and well defined edges and corners can be achieved.

Turret A (Brother Anton). After finishing the basic turret shape
I started to file the embracures.
I will make a template for the upper front plate

Test fitting of the barbette and guns. :-)

Details of the gunmatlets.

Monday, May 16, 2016

Hansa-Brandenburg W.12 Early | Wingnut Wings 1/32 | Part Three

Painting & Decaling the wings

I bought Naval hexagon and clear doped linen decals from AVIATTIC. Both products are great and higly recommended.

I bought the printed naval hexagon decals.
They are almost completely opaque
and were applied over a white base coat.
I used Mr.MARK SETTER for better adhesion.

For Natural doped linen I opted for the translucent decals.
I airbrushed the underpainting over a white base coat using
different shades of tan color.

Rib detail was done by masking off the ribs whith thin stripes
of masking tape (0.7 mm).

Close up showing the fabric effect of Aviattic´s decal.
The decal film is thicker and more elastic than the
solid naval hexagon decals.

A teaser to keep the moral high.

Floats are still missing. But it gives you an idea
how the diorama will look when finished.


Thursday, April 7, 2016

Hansa-Brandenburg W.12 Early | Wingnut Wings 1/32 | Part Two


Dry fitting of the internal assemblies into the right
fuselage shell. Good fit of parts!

Green pilot´s chair. Have a seat!

The engine served as a heating for the crew, too!

Instrument panel and oberver´s map board.

Oil and dirt stains on the 150 hp Benz BZ.III engine.

Engine serial number on front cylinder.

Sunday, March 20, 2016

Hansa-Brandenburg W.12 Early | Wingnut Wings 1/32 | Part One

I could not resist to start the W.12 as it offers a great choise of different diorama settings. So this W.12 will be part of a diorama showing it floating on the sea near the shore of its base.

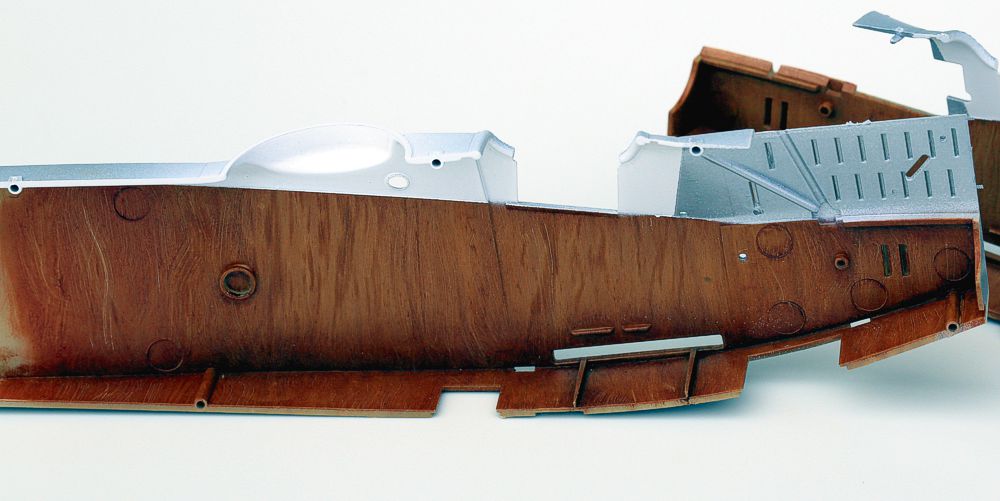
Painting of the wood panels was done using flat acrylic
under painting and artist´s oils for the wood grain.
Weathering and final touches still missing.

I decided to go for a fancy chromeoxide green pilot´s seat ...

Benz Bz.III engine with some additional details.
Also waits for weathering and final touches.

Dry fitting of some sub assemblies into the fuselage.

Diorama showing the sea bottom. The core is made of
floral foam leaving a 5 mm gap to the side panels.
The gap is filled with 3 different sand variations and
fixed with Gravel & Sand fixer from AK interactive.

Detail of the sediment structures.
A geologist´s must have ;-)
I hope they will survive the demoulding of the diorama.


Wednesday, January 27, 2016

Weathering concepts: Stage-of-life-weathering | Part One

Weathering in scale modeling

A first try of a concept of mine

All scale modelers have to deal with scaling effects and problems: we are building miniatures and replicas of real things and try to make them looking »real«. A vast number of techniques have been developed by talented modelers and several different schools have developed from »artistical« to »realistic«, from »northern« to »southern« schools.

My ideal replica looks both realistic and artistcal. I have an scientific education and I have an interest in regularities and processes. So, when studying authentic photos of, e.g. a Bf109, I try to »read« the history of that Bf109 like I try to read the history of a rock or fossil as a geologist.

The history of each modeling subject can be split in successive life stages determined by the circumstanes of its nature and operation. The life stages are also influenced by regularities that have their origin in operational and technical reasons as well as in nature itself.

The following diagram shows a succession of life stages for a given modeling subject, e.g. a WWII fighter aircraft. The dark blue spiral shows the time line and evoluton of the single life stages (orange-red boxes). Over its entire life span this aircraft is subject to several specific processes (see light blue boxes), e.g. formation and interim removal of exhaust stains. All these different processes can be contemporary and effective over the entire life time resulting in a complex and interleaved finish where several generations or layers of exhaust stains, oil streaks, dirt and grime, paint chippings and many more are present.

I think this results in a »realistic« and »artistical« replica that has a story to tell!


First try: Stage-of-life weathering

Interleaved finish of several generations of exhaust stains,
oil stains, dust, dirt, scratches and scuff markings.

Most effects like exhaust stains are made of
several generations of application, partial removal
and re-application to recreate the life stages
and processes that occured in the life time
of the original subject.

Sunday, January 24, 2016

J2M3 Raiden – Zoukei-mura 1/32 | Part Three

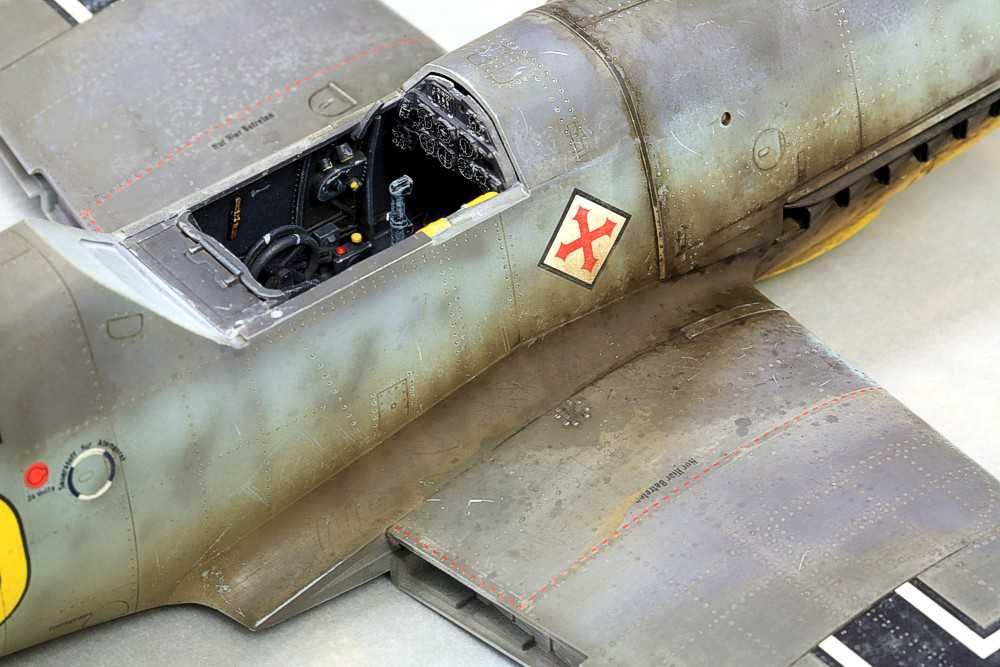
Rivet and screw detail on the fuselage and engine cowling.


I used my trusted stone bedding tool and
authentic pictures for reference.

Rivets are hard to photograph without any weathering,
but the screw detail came out nicely.

I almost finished the rivet and screw detail on the fuselage.

Tuesday, November 24, 2015

BISMARCK | Cooling water inlets – 1/100th scale | Part 2

The following pictures show my personal reconstruction of the cooling water inlets and how they could have worked. Beware: Eare human est.

Reconstructed and schematic flow pattern for
forward speed. Blue = cold, red = warm.

Flow pattern stern first.

Flow pattern bow first.

Bilge keel and inlets.

Reconstructed and schematic flow of cold water (blue)
and warm water (red). When traveling stern first cold water
flows thru the rear small inlets into the sea chest.

Guide plate (center) seperating the large and small inlet.

Small inlet for reverse speed and large inlet for forward speed.

Sunday, November 22, 2015

BISMARCK | Cooling water inlets – 1/100th scale | Part 1

My long term project is a static replica of the German battleship BISMARCK. This time I will focus on the cooling water inlets for the turbines.


Reconstruction of the sea chest:
Y-shaped inlets for forward and reverse speed.

Cut-out in the hull for installing the sea chest.

4mm-balsa plating and glass fibre coating.

Dry fitting of the inlet made from styrene.

Test fitting.

Adjusting the fit was done with files.

Testing the inlet: it actually works very well!

I painted the hull flat black because it is
visible from outside.

Thursday, August 27, 2015

J2M3 Raiden – Zoukei-mura 1/32 | Part Two

The lower belly part fits perfectly to the rear fuselage assembly.
No putty needed.

I started embossing rivets using a stone beading tool.
Also added missing panel lines using the
Bunrindo #61 book as a reference.

Dry fitting of the horizontal stabilators.
I also added a panel line along the spine of the rear fuselage.

Sunday, July 19, 2015

Paraceratherium »Paul« 1/15th scale | Part Three

The base consists of a wooden plate made of walnut wood. The ground work is done using floral foam. I used the model to create the tracks and then covered the surface with plaster. After a light sanding I added pigments and debris into a fresh layer of white glue. After this has dried over night I added a lighter layer of fine pigments with water and white glue to create the water channels.

Top view of the base showing a meander belt of a
large river with water channels and the
tracks of two Paraceatheriums.

Detail: Alluvial debris like tree trunks and roots.


Overview of the base. It measures 500 x 300 mm.
It has to fit through the doors of my vitrine.

Some more details ...