Pages

Wednesday, January 27, 2016

Weathering concepts: Stage-of-life-weathering | Part One

Weathering in scale modeling

A first try of a concept of mine

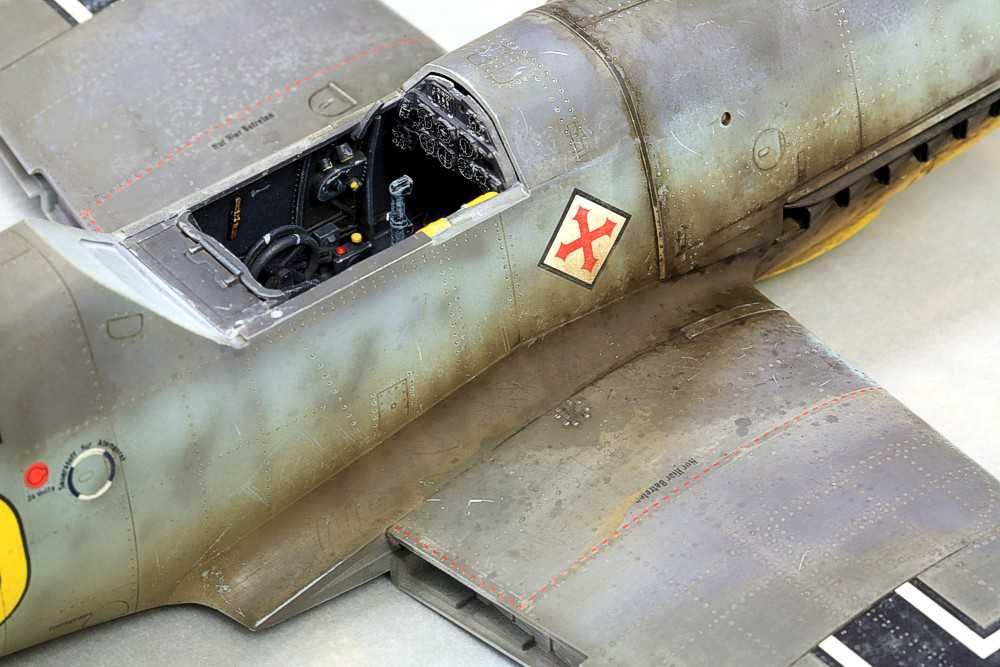
All scale modelers have to deal with scaling effects and problems: we are building miniatures and replicas of real things and try to make them looking »real«. A vast number of techniques have been developed by talented modelers and several different schools have developed from »artistical« to »realistic«, from »northern« to »southern« schools.

My ideal replica looks both realistic and artistcal. I have an scientific education and I have an interest in regularities and processes. So, when studying authentic photos of, e.g. a Bf109, I try to »read« the history of that Bf109 like I try to read the history of a rock or fossil as a geologist.

The history of each modeling subject can be split in successive life stages determined by the circumstanes of its nature and operation. The life stages are also influenced by regularities that have their origin in operational and technical reasons as well as in nature itself.

The following diagram shows a succession of life stages for a given modeling subject, e.g. a WWII fighter aircraft. The dark blue spiral shows the time line and evoluton of the single life stages (orange-red boxes). Over its entire life span this aircraft is subject to several specific processes (see light blue boxes), e.g. formation and interim removal of exhaust stains. All these different processes can be contemporary and effective over the entire life time resulting in a complex and interleaved finish where several generations or layers of exhaust stains, oil streaks, dirt and grime, paint chippings and many more are present.

I think this results in a »realistic« and »artistical« replica that has a story to tell!


First try: Stage-of-life weathering

Interleaved finish of several generations of exhaust stains,
oil stains, dust, dirt, scratches and scuff markings.

Most effects like exhaust stains are made of
several generations of application, partial removal
and re-application to recreate the life stages
and processes that occured in the life time
of the original subject.

Sunday, January 24, 2016

J2M3 Raiden – Zoukei-mura 1/32 | Part Three

Rivet and screw detail on the fuselage and engine cowling.


I used my trusted stone bedding tool and
authentic pictures for reference.

Rivets are hard to photograph without any weathering,
but the screw detail came out nicely.

I almost finished the rivet and screw detail on the fuselage.

Tuesday, November 24, 2015

BISMARCK | Cooling water inlets – 1/100th scale | Part 2

The following pictures show my personal reconstruction of the cooling water inlets and how they could have worked. Beware: Eare human est.

Reconstructed and schematic flow pattern for
forward speed. Blue = cold, red = warm.

Flow pattern stern first.

Flow pattern bow first.

Bilge keel and inlets.

Reconstructed and schematic flow of cold water (blue)
and warm water (red). When traveling stern first cold water
flows thru the rear small inlets into the sea chest.

Guide plate (center) seperating the large and small inlet.

Small inlet for reverse speed and large inlet for forward speed.

Sunday, November 22, 2015

BISMARCK | Cooling water inlets – 1/100th scale | Part 1

My long term project is a static replica of the German battleship BISMARCK. This time I will focus on the cooling water inlets for the turbines.


Reconstruction of the sea chest:
Y-shaped inlets for forward and reverse speed.

Cut-out in the hull for installing the sea chest.

4mm-balsa plating and glass fibre coating.

Dry fitting of the inlet made from styrene.

Test fitting.

Adjusting the fit was done with files.

Testing the inlet: it actually works very well!

I painted the hull flat black because it is
visible from outside.

Thursday, August 27, 2015

J2M3 Raiden – Zoukei-mura 1/32 | Part Two

The lower belly part fits perfectly to the rear fuselage assembly.
No putty needed.

I started embossing rivets using a stone beading tool.
Also added missing panel lines using the
Bunrindo #61 book as a reference.

Dry fitting of the horizontal stabilators.
I also added a panel line along the spine of the rear fuselage.

Sunday, July 19, 2015

Paraceratherium »Paul« 1/15th scale | Part Three

The base consists of a wooden plate made of walnut wood. The ground work is done using floral foam. I used the model to create the tracks and then covered the surface with plaster. After a light sanding I added pigments and debris into a fresh layer of white glue. After this has dried over night I added a lighter layer of fine pigments with water and white glue to create the water channels.

Top view of the base showing a meander belt of a
large river with water channels and the
tracks of two Paraceatheriums.

Detail: Alluvial debris like tree trunks and roots.


Overview of the base. It measures 500 x 300 mm.
It has to fit through the doors of my vitrine.

Some more details ...

Saturday, July 11, 2015

Tyrannosaurus rex #2 | Part One

I am painting a Tyrannosaurus rex (Krentz, 1/40th scale) for a friend and for fun! :-)
Base color is beige, applied in a countershading scheme.

Added a orange signal color.

Will probably use black and dark blue grey for the main body ...

Sunday, June 21, 2015

Paraceratherium »Paul« 1/15th scale | Part Two

More work on the underpainting using oil paints.

Added further highlights.

Added a first layer of pigment disorders.

Highlights on the head and neck area. Next step will be more
shadows, pigment disorders and skin details.

Saturday, June 13, 2015

Paraceratherium »Paul« 1/15th scale | Part One

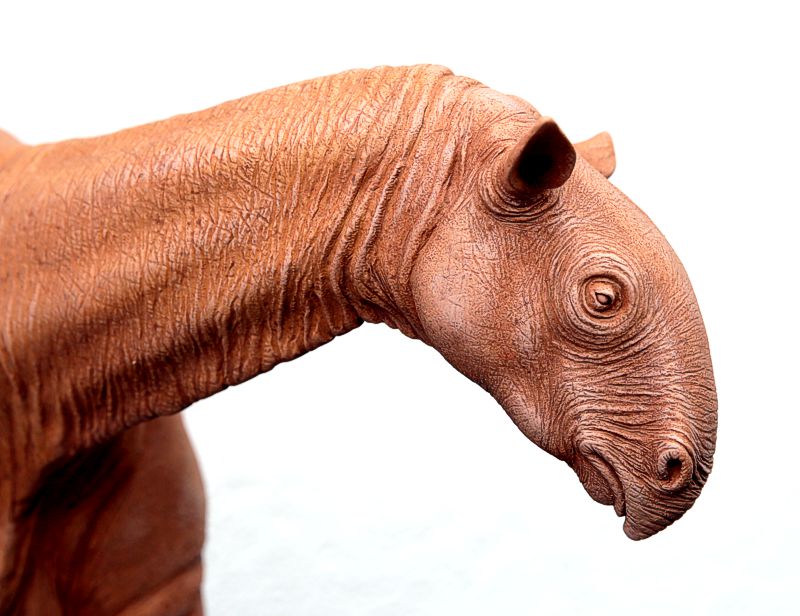
Parallel to the Raiden I started a new project – Paraceratherium, also called »Paul«. Paraceratherium was a hornless rhinoceros and probably the largest terrestrial mammal that has ever existed. It weight some 20 tons! For more info on the animal check out – for example – wikipedia.

The animal was sculpted by Shane Foulkes and it is beautiful! It is a limited kit of 25 sets, each containing ten parts. I bought my copy at Urzeitshop. Service and delivery was great and fast.

Joints were eleminated using magic sculpt. Parts were glued using two-part-epoxy (5 min.).

I will take some inspirations for the painting the skin from studying the appearance of rhinos, elephants and hippos.

After a base coat of Mr.RESIN primer Paul received
a coat of Humbrol #61 for the under painting.

Beautifully sculpted head.
First highlights using artist´s oil paints:
yellow ocre, crimson, and white.

I added a second shadow using flesh tones and brick red.

A further drybrushing for the second highlights.


Monday, June 8, 2015

J2M3 Raiden – Zoukei-mura 1/32 | Part One

Instrument panel using the clear part and decals
as supplied in the kit.

Test fitting of the pilot in the cockpit.

Cockpit and main fuel tank.

Fire wall seperating the engine compartment from the
fuel tank compartment.

Cockpit and rear deck with the radio set and roll bar.

Weathering test.

All subassemblies have a great fit.

Propeller assembly.

Several weathering test.